


It's also ugly.

So the first year, I suddenly thought last minute of getting a table skirt for it. Of course by last minute I mean on the way to the event. So I ended up with a dull blue plastic table skirt sold in the party section of the dollar store.
It was ugly too. And very much not of the Renaissance. Or Wicked, for that matter.
The second year I had the cart, which was last year, I didn't even bother. I meant to make something, didn't find the time, and gave up. Of course, I didn't have a sewing machine back then. I went with my plain cart, which really doesn't go with the Renaissance theme. It also doesn't go with the Wicked theme. It's fairly un-thematic. Just utilitarian. And, you know, ugly.
And then in July, I got my sewing machine. And in October, I won that Joann's gift card from Frugal With a Flourish, and I bought that awesome royal crushed velvet. I also bought some 1/2" elastic.

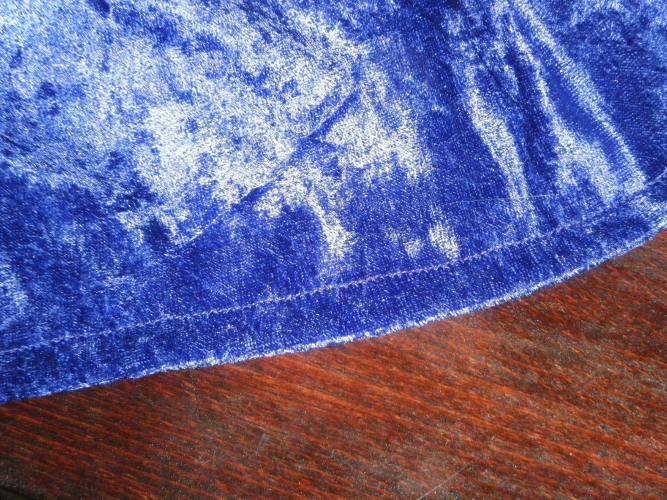
So... today I cut my fabric and started to sew. The cart is 87" around. The height of it is perfect for 1/2 the width of the fabric, so I cut a 60" piece, and then cut it in half lengthwise. I hemmed each short end for a nice finish.
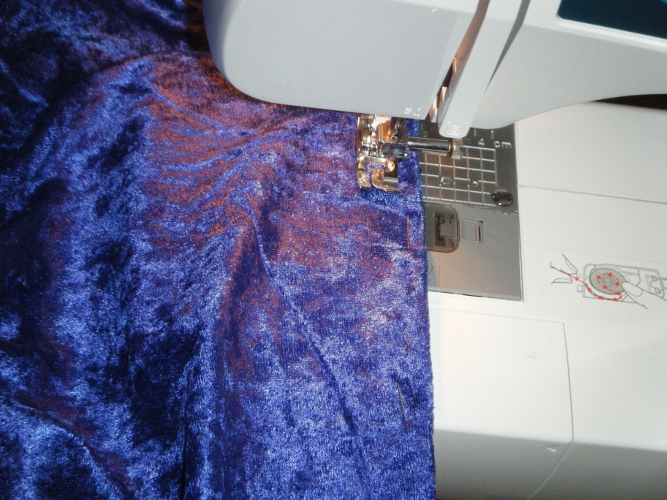
Having the machine really makes life easier for stuff like this, and I got nice, even hems.
Each pack of elastic was 3.5 yards, so I needed to sew the better part of two of them together.

I stitched in two spots and went back and forth to make sure it's strong. Last thing I need is the elastic breaking in the middle of a 3-day event.
I used the elastic to measure how far I needed to fold the fabric over at the top, and pinned it down, then sewed just outside the pins to give the elastic a little more room.
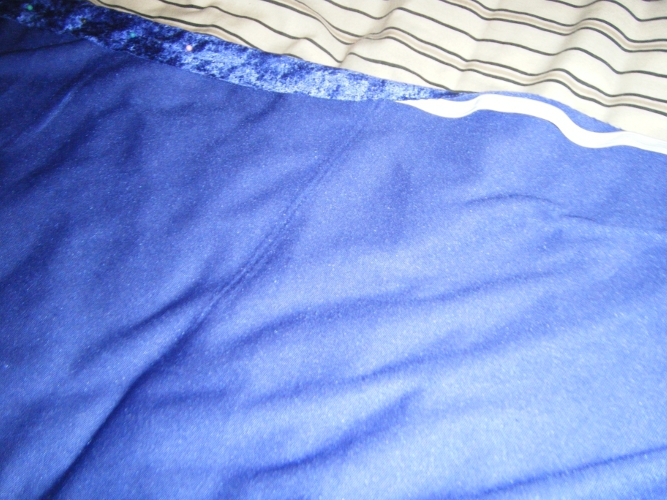

I designated the cut long end as the "top," since the other side was already finished, and could be a nice straight bottom without any alteration, while the top needed to be sewn down for the elastic to run through.


For anyone who's never done this before, a little trick... pin a safety pin to the end of your elastic. It makes it much, much easier to pull through.


When I was running it through the second length of fabric, I had to make sure I wasn't going to pull it right out the other end, so I pinned the far end to the velvet to make it stay put.

Once both pieces were strung onto the elastic, I sewed together the open ends of elastic and tried it on the cart. It looked good, but the velvet was heavier than I anticipated, and dragged down a bit. To keep it lifted properly, I sewed a button in the front middle, where I wanted one of the splits in the fabric to be.

Then I sewed on a loop of embroidery thread, to the opposite side of the elastic, to be pulled across the top of the cart and hold the fabric up.

The way I set up my face paints, the thread won't interfere. Just to make sure it's really stable, I also added buttons and loops of embroidery thread to the corners.

And voila! The cart is ready for faire!

Much better.


2 comments:
Very nice!! I love to sew! I need to start thinking about some new table covers for the farmer's market this year too. Thanks for reminding me to get my rear in gear!
Great job sprucing up your cart!! And that fabric is perfect for a renaissance fair!
Post a Comment